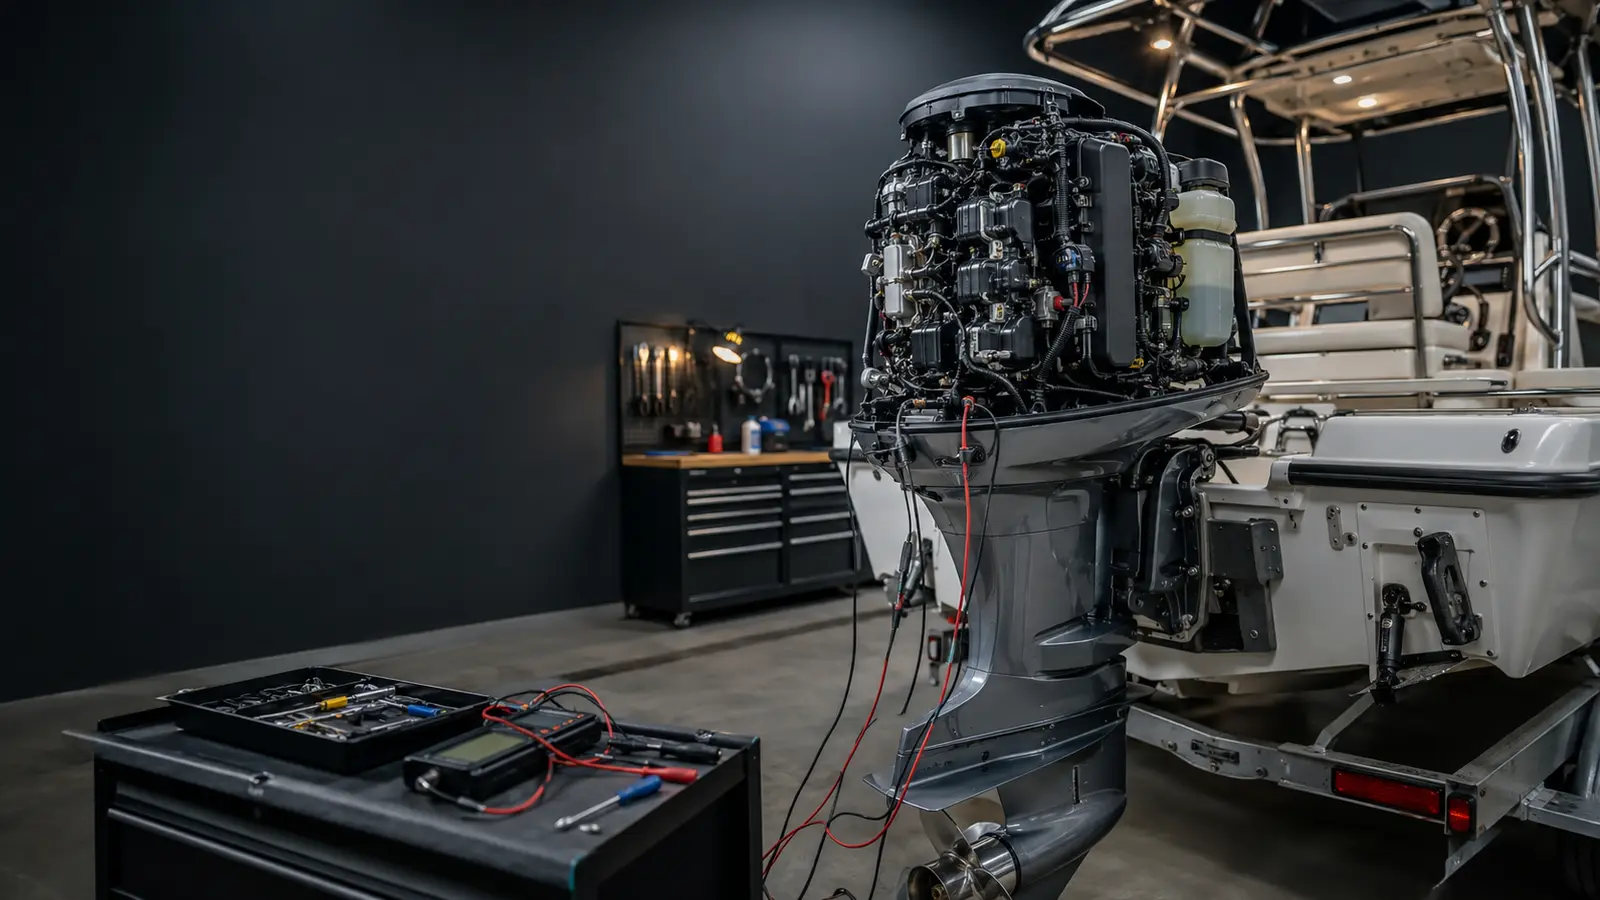
Carbureted outboard motor with fuel lines linkage and intake components inspected for repair near Colonial Beach Virginia

Outboard carburetor repair · Colonial Beach region

Outboard Carburetor Repair Near Colonial Beach, VA

Prove the fuel supply, preserve each calibrated part, and return the carburetor bank to a known baseline.

The search that brought you here

A carburetor can be dirty or worn—but the same symptoms can begin upstream, in the ignition, or inside the engine.

For boat owners searching for outboard carburetor repair, outboard carburetor rebuilding, carb cleaning, flooding diagnosis, rough idle repair, or help with a carbureted outboard near Colonial Beach, Dahlgren, King George, the Northern Neck, and genuinely served nearby Southern Maryland.

Hard starting after storage, a cylinder that will not contribute at idle, fuel dripping from an intake, hesitation, stalling when shifted, uneven acceleration, or an engine that runs only with choke can point toward a carburetor fault. They can also come from stale or water-contaminated fuel, a blocked tank vent, restricted pickup, deteriorated hose, weak pump, air leak, incorrect float supply, weak spark, low compression, reed or valve trouble, linkage error, or an unsafe previous adjustment. Ironwake identifies the exact outboard and carburetor bank, documents the first evidence, proves the accessible supporting systems, and recommends internal carburetor work only when the findings support it.

Tell us about the vehicle, truck, or boat →
IRONWAKE STANDARD

Identify every carburetor

Model and serial information, casting and stamped marks, cylinder position, jet and nozzle identification, choke or enrichment design, linkage, and manufacturer parts diagrams keep similar-looking components from being mixed.

IRONWAKE STANDARD

Prove the fuel and spark foundation

Fuel age, water and debris, venting, pickup, hoses, bulb, filters, pump delivery, ignition quality, compression, crankcase pulse, and air leakage are evaluated before a carburetor is blamed for every running fault.

IRONWAKE STANDARD

Restore a documented baseline

Cleaning, service parts, float settings, jet placement, linkage pickup, synchronization, idle mixture where adjustable, and leak checks follow information for the exact engine rather than universal turns or wire-cleaning shortcuts.

What the project may include

Outboard carburetor concerns Ironwake can evaluate

Project fit depends on the trailered boat, exact outboard model and serial or product identification, carburetor count and condition, fuel quality, storage history, parts and service-information support, corrosion, previous work, engine condition, and whether the first fault is actually inside the carburetor. Some obsolete, damaged, heavily corroded, distorted, drilled, mismatched, or incomplete carburetors may not be practical rebuild candidates.

A deliberate service sequence

A seven-stage path from running complaint to a serviceable carburetor baseline

The sequence protects safety, keeps parts matched to their original positions, separates internal carburetor faults from surrounding causes, and creates evidence for repair or replacement. Exact solvents, service limits, settings, torque values, sealants, test methods, and adjustments come from information for the specific outboard.

  1. 01

    Stop for active leakage, strong vapor, heat, or unsafe prior work

    Do not keep priming, cranking, or running an outboard when fuel is dripping, pooling, spraying, entering the cowling, or reaching hot or electrical components. Eliminate ignition sources, ventilate safely, keep spilled fuel out of the water, and avoid operating switches unnecessarily around vapor. Photograph the wet area, staining, damaged hose, open fittings, improvised wiring, and carburetor position before safe cleanup. An uncontrolled spill, fire, illness, or immediate hazard requires emergency help rather than shop diagnosis. A rebuild estimate begins only after the boat can be handled without creating another fuel risk.

  2. 02

    Identify the engine, carburetor bank, and previous changes

    Record the manufacturer, model, serial or primary ID, production information, horsepower, two- or four-stroke design, cylinder count, carburetor count and position, casting and stamped marks, jet and nozzle numbers where visible, choke or enrichment system, oiling design, control and linkage layout, tank type, filters, pump type, and recent work. Photograph each hose, bracket, spring, rod, cam, roller, connector, screw position, and carburetor before removal. Parts diagrams and service data must match the actual engine; a kit for another year, horsepower, shaft code, emissions family, or carburetor revision may look close and still contain wrong calibrated parts.

  3. 03

    Preserve the symptom and prove the supporting systems

    Document cold and hot starting, choke or primer response, idle quality, cylinder contribution, smoke, fuel odor, visible wetness, acceleration, rpm and load, shift-stall pattern, primer-bulb feel, tank selection, storage history, fuel age, recent service, alarms, and whether the condition changes with a safe known-good supply connected by the approved procedure. Inspect the tank vent, pickup, anti-siphon valve where fitted, hose liner, bulb, quick connectors, filters, pump pulse or electrical supply, pressure or vacuum by the model method, spark quality, compression or leak evidence, crankcase pulse, reeds or valve condition where relevant, and intake leaks. Internal carburetor work cannot correct a restricted tank, weak pump, missing spark, low compression, or leaking intake gasket.

  4. 04

    Disassemble methodically without altering calibrated passages

    Drain and remove the carburetor or complete bank using the approved sequence, keeping fuel, hoses, oil lines, linkages, gaskets, insulators, spacers, and orientation documented. Work on one carburetor at a time when the manufacturer procedure and bank design call for it, and use labeled trays so jets, nozzles, floats, needles, springs, washers, screws, and plugs return to the correct position. Record adjustable screw positions only as evidence; do not assume a previous setting was correct. Inspect for stuck fasteners, cracked castings, stripped threads, distorted bowls and flanges, corroded passages, worn shafts, damaged seats, swollen plastic or rubber, missing plugs, drilled jets, mismatched components, and debris patterns before cleaning erases the clues.

  5. 05

    Clean, measure, and choose repair or replacement from evidence

    Use a material-compatible cleaning process and personal protection appropriate to the approved parts, separating metal, rubber, plastic, coated, and electrical components as required. Clear passages with the manufacturer method and clean air direction; never enlarge a calibrated jet or orifice with drill bits, torch-tip cleaners, hard wire, or uncontrolled abrasive blasting. Compare serviceable jets, nozzles, needles, seats, floats, gaskets, O-rings, diaphragms, plugs, shafts, bores, bowls, and castings with the exact specification and available service parts. If corrosion, distortion, wear, broken castings, damaged threads, missing calibration pieces, unsupported modifications, or unavailable parts prevent a known baseline, replacement or a specialist component decision is separated from a routine rebuild.

  6. 06

    Reassemble, install, and synchronize to the exact procedure

    Install supported service components in their documented positions, verify float integrity and height or level by the model method, seat jets and screws without damage, restore plugs and seals as specified, and use the correct gasket stack, insulators, torque values, clamps, hoses, and routing. Reinstall the bank without binding throttle or choke parts, creating air leaks, pinching oil or fuel lines, or losing full closed and wide-open travel. Set throttle pickup, cam and roller position, synchronization, link-and-sync, idle mixture where adjustable, idle speed, and enrichment operation in the required order. Do not copy a turn count, float angle, vacuum value, or synchronization technique from another engine simply because it has the same horsepower.

  7. 07

    Validate leak-free operation from cold start through supported load

    Prime or supply fuel only in a controlled, ventilated setting with proper cooling water, then inspect every disturbed fitting, bowl, drain, gasket, hose, connector, pump connection, and carburetor throat for wetness or odor before and during startup. Verify cold start, choke or enrichment release, warm idle, cylinder contribution, synchronization, throttle pickup, acceleration, deceleration, shift response, shutdown, hot soak, restart, smoke, plug condition, fuel-pressure or vacuum evidence, and supported load behavior without promising that a brief shop run reproduces every on-water condition. Reinspect after heat cycles, document the installed parts and final baseline, and identify any tank, pump, ignition, compression, internal-engine, control, propeller-load, or on-water follow-up that remains outside the carburetor repair.

Local, appointment-based project work

Outboard carburetor repair for Colonial Beach and Potomac-area boats

Ironwake Customs is based in King George County and evaluates supported carbureted outboards on trailered boats for owners from Colonial Beach, Dahlgren, Fredericksburg, Stafford, Spotsylvania, the Northern Neck, and genuinely served nearby Southern Maryland by appointment. Seasonal storage, ethanol-blended fuel, water or debris, heat, aging hoses, mixed carburetor parts, corrosion, and earlier adjustments can create several faults with the same symptom. Send the boat and outboard make, model, production information and serial or primary ID; horsepower and hours when available; carburetor count and visible identification; exact cold, hot, idle, acceleration, and shift symptoms; fuel and storage history; primer-bulb behavior; odors or wetness; recent service; clear cowling, linkage, fuel-path, and carburetor photos; parts or kits already purchased; and readings already gathered. Inspection may still be needed before pricing.

Check project fit ↗

Useful planning references

Verify the details that shape the repair.

These public, manufacturer, and industry resources add useful context for identification, system support, safety, and compliance. The exact vehicle and approved project scope still control the repair plan.

Yamaha Outboards

Fuel and Fuel-System Maintenance

Yamaha's current guidance connects fuel quality, water and debris, tanks, vents, hoses, filters, separators, pumps, carburetors, injectors, vapor-separator components, and storage practices. It supports diagnosing the full supply path instead of treating carburetor cleaning as a substitute for contaminated fuel or restricted delivery.

Open source ↗
Yamaha Outboards

Outboard Owner's Manual Lookup

Yamaha's lookup begins with the engine's primary ID and provides model-specific operating, fuel, maintenance, warning, and identification information. The exact engine record is the starting point for parts and procedure research, not horsepower or appearance alone.

Open source ↗
Mercury Marine / Quicksilver

Carburetor Repair Kits and Application Details

Mercury's current catalog separates kits and service components by engine family and application. It illustrates why needles, seats, floats, gaskets, jets, and other calibrated parts must be matched to the exact outboard rather than selected as a generic same-horsepower kit.

Open source ↗
U.S. Coast Guard Boating Safety Division

Recreational Boat Recalls and Safety Defects

The Coast Guard provides recall, safety-defect, circular, and defect-reporting resources for recreational boats and associated equipment. A carburetor or fuel-system repair does not replace checking current safety information for the exact boat, engine, and installed equipment.

Open source ↗

Questions owners ask before starting

Get clear before the work begins.

How do I know whether an outboard carburetor needs rebuilding?+

A rebuild may be supported when a carburetor has internal contamination, restricted calibrated passages, a sticking inlet needle, damaged service seals, a failed float or diaphragm, visible bowl debris, leakage, or wear that service parts can correct. Hard starting, rough idle, bogging, flooding, or choke-dependent running alone do not prove it. Fuel supply, pump delivery, air leaks, ignition, compression, reeds or valves, linkage, and engine condition should be checked first.

Can you clean an outboard carburetor without removing it?+

An external inspection or approved fuel-system procedure may provide useful evidence, but a true internal cleaning or rebuild usually requires model-specific removal and disassembly so bowls, jets, nozzles, passages, inlet parts, floats, seals, and mating surfaces can be inspected. Spraying cleaner into an intake does not verify hidden passages and can damage materials or create a fire and pollution risk if used incorrectly.

Why does my outboard run only with the choke on?+

The engine may be receiving too little usable fuel or too much unmetered air. Possible causes include stale or contaminated fuel, blocked vent or pickup, restricted hose or filter, weak pump, air entry, low bowl level, clogged idle or main passage, intake leak, incorrect linkage, or another cylinder, ignition, or compression fault. Choke response narrows the test path but does not identify one failed jet by itself.

Do multiple outboard carburetors have to be synchronized after repair?+

Many multi-carburetor engines require a model-specific link-and-sync or synchronization sequence after removal, disassembly, adjustment, or linkage work. Throttle-plate position, pickup timing, cam and roller contact, idle mixture where adjustable, ignition timing, and idle speed may interact. The order and measurement method must come from the exact engine information rather than a universal vacuum reading or screw position.

Can old fuel damage an outboard carburetor?+

Aging gasoline can lose volatility and leave deposits, while water, debris, phase separation, incompatible additives, hose deterioration, or tank contamination can obstruct passages and damage service parts. Rebuilding a carburetor without correcting the tank-to-engine source can contaminate it again. Fuel condition, tank, vent, pickup, hoses, filters, separator, bulb, pump, and carburetor should be treated as one supply path.

Should I rebuild or replace an outboard carburetor?+

Rebuilding can make sense when the exact assembly is identified, castings and calibrated bores remain serviceable, the required specifications exist, and compatible parts can restore a known baseline. Replacement may be more appropriate when corrosion, cracks, distortion, stripped threads, shaft wear, drilled or mismatched jets, missing parts, unsupported modifications, or unavailable service components prevent a reliable repair. The replacement still has to match the exact engine and bank position.

What should I send for an outboard carburetor repair estimate?+

Send the boat and engine make, model, production information, serial or primary ID, horsepower, hours, carburetor count, identification marks, clear photos of the engine and linkage, exact symptoms cold and hot, choke or primer response, fuel and storage history, primer-bulb behavior, leakage or odor details, recent repairs, compression or spark findings if professionally gathered, and every kit or part already purchased. Final pricing may require inspection and carburetor identification.

The project needs a real starting point

SHOW US THE MACHINE.
TELL US THE GOAL.

Ironwake will review the vehicle, current condition, intended use, and requested scope before recommending the right next step.

Start the conversation ↗
Request a project review ↗